Showing posts with label Dandelion Wine Series 1. Show all posts

Tuesday, May 24, 2011

Homebrew Series 2 - Making Dandelion Wine - Part 2 - Fermentation


Part 2 - Straining and Racking the Wine

After about 10 days (this blog post is quite late) of initial fermentation in a large bucket, the early stage wine was ready to be transfered to a new fermenting jug. To my surprise, the blossoms, as well as most of the fruit, was floating at the top of the original bucket. I scooped out most of the blossoms, squeezing the liquid from them through a cloth steeping bag.

After most of the fruit, blossoms, and debris were scooped out, and with some help, I transferred the wine to the new jugs through a large funnel with a mesh screen. When purchasing the plastic carboy I under estimated the amount of wine that I had. Luckily, I had some extra jugs left. The jug on the left is 4 liters and the jug on the right (not full) is 1 gallon.

With airlocks in each of them, they are continuing the process of fermentation. According to the recipe, I should let this next stage of fermentation go for about 30 days. After that, I will rack the wine to new jugs (probably to a bucket temporarily) to sit for another 90 days before bottling.

I plan to keep an eye on them during the 90-day period. If the wine starts to become clear, I will rack the wine again to leave as much sediment behind as possible. The more times the wine sheds some sediment is racked, the clearer the final product will be. As you can see, the wine has a lot of time ahead of it.


The three-gallon carboy undergoing vigorous fermentation one day after it was transferred from the bucket where the initial fermentation began.


A large bubble of carbon dioxide escaping the carboy through the airlock. The staff at the homebrew store suggested the 'S' shaped 'bubble-type' airlock be used on the carboy. I used the 'three-piece' airlock on the two glass jugs.


An closeup photo of the active fermentation in the carboy. The yellow scum around the neck of the carboy is primarily pollen from the dandelion blossoms. The large amount of pollon from the flowers also stained the inside of the food grade bucket I used for the start of the fermentation. I plan to keep the bucket, but use it primarily for dandelion wine in the future.

See the other parts in this series:

Part 1 - Beginning the Wine

Wednesday, May 4, 2011

Homebrew Series 2 - Making Dandelion Wine - Part 1 - Beginning the Wine


Part 1 - Beginning the Wine

On Sunday I took advantage of the beautiful weather and the copious amounts of dandelions in Bushnell Park in Hartford, Connecticut and decided to make a batch of dandelion wine. I spent about an hour and a half in the park, picking 3 gallons of dandelion blossoms (the third gallon-sized bag is not pictured here). The weather was great, the picking was easy, and people were surprisingly interested. Most of the people I talked to had either heard of or had dandelion wine, and everyone thought it was pretty cool.


After picking the dandelions, I washed them in batches and trimmed off some of the green and stems from the blossoms. Working with only petals makes the wine sweeter, but with a limited amount of time and manpower, I only trimmed the most obvious stems that I noticed. Given more time or additional help, I would've trimmed them more closely.


Added to the dandelions, the recipe (to make about 5 gallons of wine) calls for a 3 cut up oranges, 2 cut up oranges, and 1 pound of raisins.


About 4 gallons of boiling water are added to the dandelion blossoms and the fruit is added on top.


The mixture is stirred together and ready to cool overnight, while soaking. The recipe called for sugar to be added the next day.


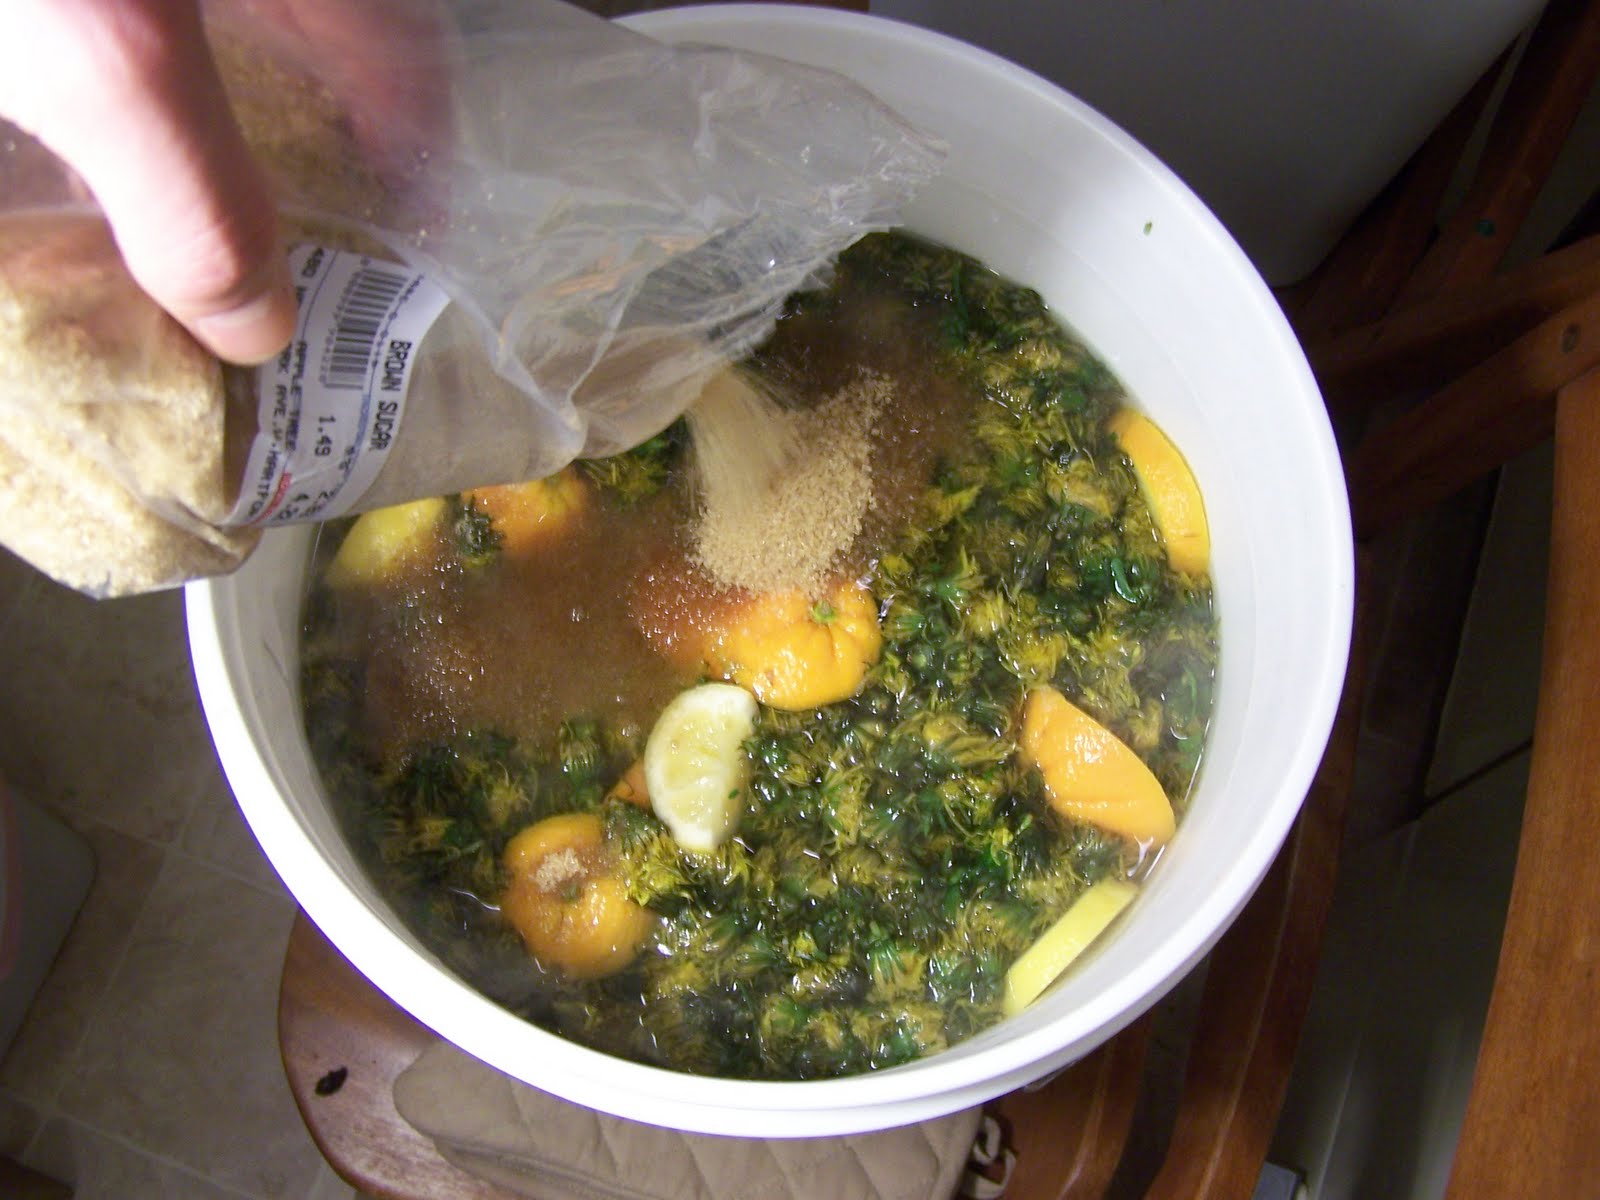
Because so much sugar is necessary (the recipe specified by measured original gravity, but others called for anywhere between 2 and 4 pounds per gallon of water), I added between 40-50% of the sugar on the first day (all of the sugar I had). I decided that dissolving many pounds of sugar would've been too much of a hassle when the whole mixture was room temperature.

 The first day I used 4 pounds of large-granule pure cane sugar and about 2.5 pounds of brown sugar. On the second day I ladled some of the mixture into a large pot. I heated it on the stove and disolved (approximately) an additional 8 pounds of brown sugar, while the yeast primed in a small portion of the mixture. I reincorporated the portion with the added sugar, mixed it well, and added the yeast. 

The entire mixture is waiting, sealed with an airlock, as the fermentation begins. The next step, in about a week and a half, will be to strain the fruit and blossoms from the mixture.

See the other parts in this series:


Advertisement